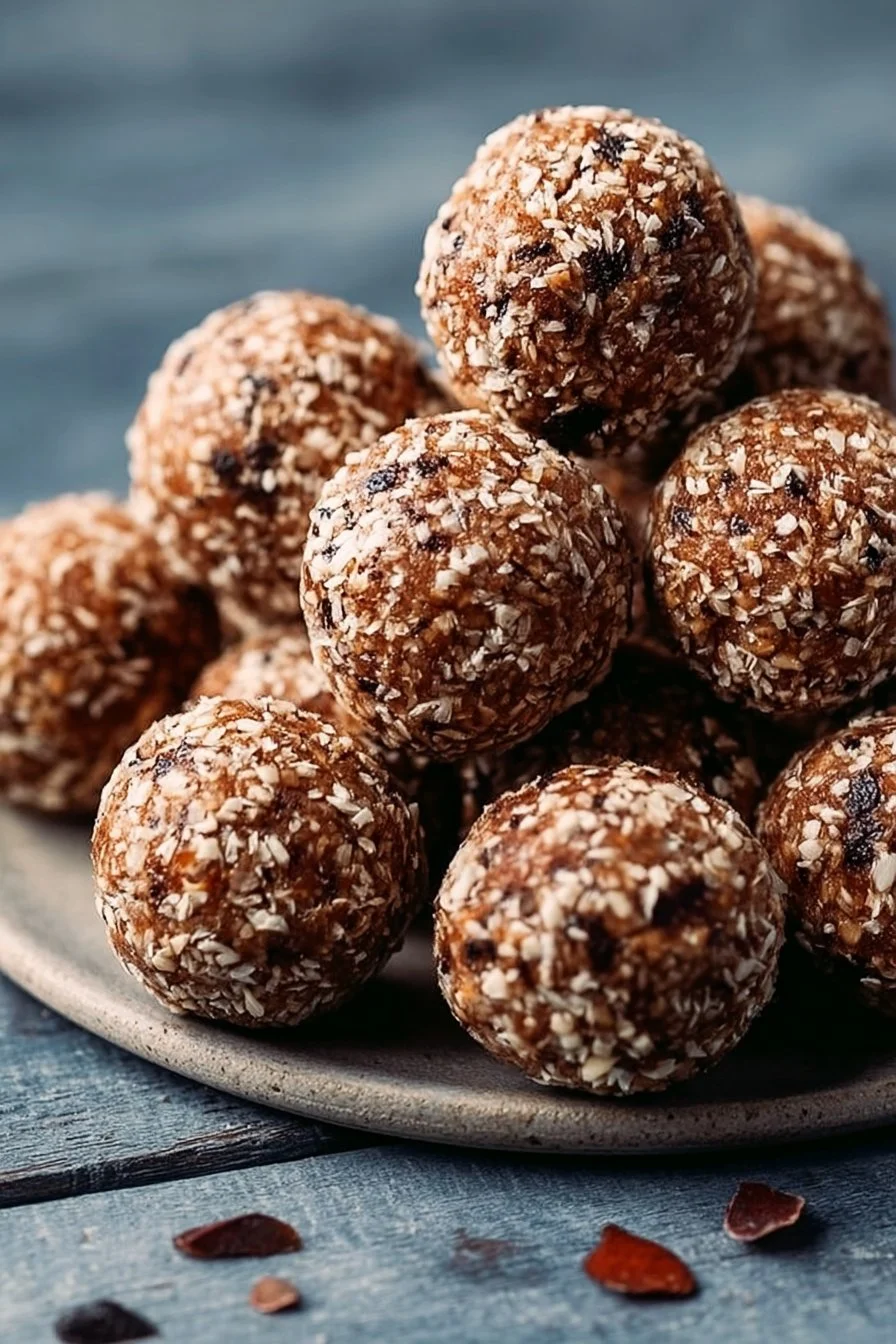
Introduction to No Bake Protein Balls
Life can get hectic, can’t it? Between work, family, and everything in between, finding time to eat healthy often feels like a challenge. That’s where No Bake Protein Balls come in. These little gems are not just a quick solution for a busy day; they’re a delicious way to fuel your body without the fuss. Packed with protein and wholesome ingredients, they’re perfect for a mid-afternoon pick-me-up or a post-workout snack. Plus, you can whip them up in just 10 minutes! Trust me, once you try these, you’ll wonder how you ever lived without them.
Why You’ll Love This No Bake Protein Balls
These No Bake Protein Balls are a game changer for anyone juggling a busy lifestyle. They’re incredibly easy to make, requiring no baking skills whatsoever. Just mix, roll, and chill! In just 10 minutes, you’ll have a tasty snack that’s not only satisfying but also packed with nutrients. Whether you need a quick breakfast or a healthy treat, these protein balls deliver on flavor and convenience every time.
Ingredients for No Bake Protein Balls
Gathering the right ingredients is the first step to creating these delightful No Bake Protein Balls. Here’s what you’ll need:
- Old-fashioned rolled oats: These provide a hearty base and a good source of fiber, keeping you full longer.
- Natural peanut butter or almond butter: Packed with healthy fats and protein, this adds creaminess and flavor. Choose your favorite nut butter for a personal touch.
- Honey or maple syrup: A natural sweetener that binds the ingredients together while adding a touch of sweetness. You can adjust the amount based on your taste preference.
- Protein powder: This is the star ingredient, boosting the protein content. Vanilla or chocolate flavors work best, depending on your mood.
- Ground flaxseed (optional): A great source of omega-3 fatty acids and fiber, adding a nutritional punch. It’s optional but highly recommended!
- Mini chocolate chips or cacao nibs: For a little indulgence, these add a delightful crunch and sweetness. You can also use dried fruit or nuts for a different texture.
- Vanilla extract: A splash of this enhances the overall flavor, making your protein balls taste even better.
- Pinch of salt: Just a hint to balance the sweetness and enhance the flavors.
For exact measurements, check the bottom of the article where you can find everything listed for easy printing. Feel free to get creative with your mix-ins or substitutions based on what you have on hand!
How to Make No Bake Protein Balls
Making No Bake Protein Balls is as easy as pie—well, easier, since there’s no baking involved! Follow these simple steps, and you’ll have a batch ready in no time. Let’s dive in!
Step 1: Combine Dry Ingredients
Start by grabbing a large bowl. Toss in the old-fashioned rolled oats, protein powder, ground flaxseed, mini chocolate chips, and a pinch of salt. Mix them together until they’re evenly combined. This step is crucial because it ensures that every bite is packed with flavor and nutrition. Plus, it’s a great way to get your hands a little messy!
Step 2: Mix in Wet Ingredients
Now, it’s time to add the wet ingredients. Pour in the natural peanut butter (or almond butter), honey (or maple syrup), and a splash of vanilla extract. Use a spatula or your hands to mix everything together. You want to make sure that all the dry ingredients are coated well. If the mixture feels too dry, don’t hesitate to add a bit more honey or nut butter. It should be sticky but manageable.
Step 3: Form the Balls
Once everything is mixed, it’s time to roll! Scoop about a tablespoon of the mixture and roll it into a ball between your palms. Repeat this process until you’ve used up all the mixture. If you find the mixture sticking to your hands, a little water can help. This step is where you can get creative—try making different sizes or shapes if you’re feeling adventurous!
Step 4: Chill and Store
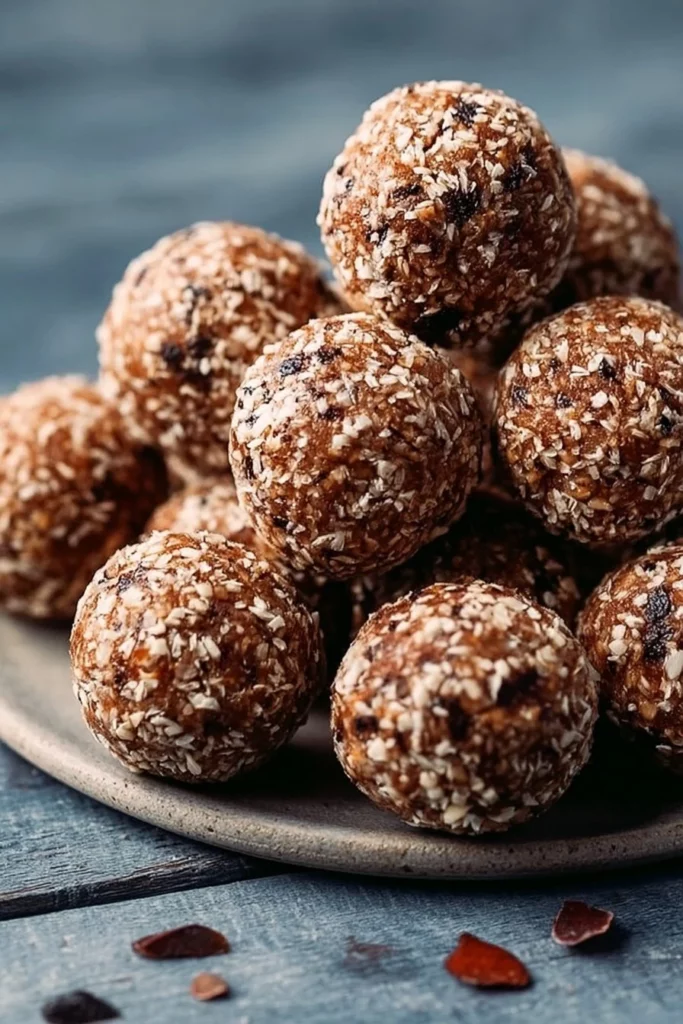
Place the formed balls on a baking sheet or plate. Pop them in the fridge for about 20 to 30 minutes to set. This chilling time helps them firm up, making them easier to grab on the go. Once they’re set, transfer them to an airtight container. They’ll keep in the fridge for up to a week, or you can freeze them for longer storage. Trust me, having these on hand will save you during those busy days!
Tips for Success
- Use a non-stick bowl for easier mixing and cleanup.
- Wet your hands slightly when rolling the balls to prevent sticking.
- Experiment with different nut butters for unique flavors.
- Chill the mixture for 10 minutes before rolling if it feels too sticky.
- Store in an airtight container to keep them fresh longer.
Equipment Needed
- Large mixing bowl: Any bowl will do, but a sturdy one makes mixing easier.
- Spatula or wooden spoon: Use these for mixing; a spatula helps scrape down the sides.
- Baking sheet or plate: This is where your protein balls will chill.
- Airtight container: Essential for storing your delicious snacks.
Variations
- Nut-Free Option: Swap out nut butter for sunflower seed butter or tahini to make these No Bake Protein Balls nut-free.
- Vegan Version: Use maple syrup instead of honey and ensure your protein powder is plant-based for a vegan-friendly snack.
- Chocolate Lovers: Add cocoa powder to the mixture for a rich chocolate flavor, or use chocolate protein powder for an extra boost.
- Fruit-Infused: Mix in dried fruits like cranberries, raisins, or chopped apricots for a chewy texture and natural sweetness.
- Spiced Up: Add a dash of cinnamon or nutmeg for a warm, cozy flavor that pairs perfectly with the other ingredients.
Serving Suggestions
- Pair your No Bake Protein Balls with a refreshing smoothie for a balanced breakfast.
- Enjoy them alongside a cup of coffee or tea for a delightful afternoon snack.
- Serve on a platter with fresh fruit for a colorful and inviting presentation.
- Wrap them in parchment paper for a portable snack option.
FAQs about No Bake Protein Balls
Got questions about No Bake Protein Balls? You’re not alone! Here are some common queries that might help you out:
Can I use different types of protein powder?
Absolutely! You can use any flavor of protein powder you like. Vanilla and chocolate are popular choices, but feel free to experiment with others.
How long do these protein balls last?
When stored in an airtight container in the fridge, your No Bake Protein Balls will stay fresh for up to a week. You can also freeze them for longer storage.
Can I make these protein balls gluten-free?
Yes! Just ensure you use certified gluten-free oats. This way, you can enjoy a delicious and safe snack.
What can I substitute for honey?
If you prefer a vegan option, maple syrup is a great substitute for honey. It adds sweetness and binds the ingredients just as well.
Are these protein balls suitable for kids?
Definitely! They make a fantastic snack for kids, providing energy and nutrients without refined sugars. Just keep an eye on the mix-ins if your little ones have allergies.
Final Thoughts
Creating No Bake Protein Balls is more than just whipping up a quick snack; it’s about embracing a healthier lifestyle without sacrificing flavor. These little bites of joy are perfect for busy days, offering a satisfying energy boost when you need it most. Whether you’re at work, hitting the gym, or just need a pick-me-up, they’re always ready to go. Plus, the joy of customizing them to your taste makes each batch uniquely yours. So, roll up your sleeves, get creative, and enjoy the deliciousness that comes with every bite of these protein-packed treats!
Print
No Bake Protein Balls: Easy Recipes for Healthy Snacking
- Total Time: 30 minutes
- Yield: 12–15 balls 1x
- Diet: Vegetarian
Description
No Bake Protein Balls are a quick and easy snack option packed with protein and healthy ingredients, perfect for on-the-go energy.
Ingredients
- 1 cup old-fashioned rolled oats
- ½ cup natural peanut butter or almond butter
- ⅓ cup honey or maple syrup
- ½ cup protein powder (vanilla or chocolate)
- ¼ cup ground flaxseed (optional)
- ¼ cup mini chocolate chips or cacao nibs
- 1 tsp vanilla extract
- Pinch of salt
Instructions
- In a large bowl, combine oats, protein powder, flaxseed, chocolate chips, and salt.
- Stir in peanut butter, honey, and vanilla extract until the mixture is well combined.
- Scoop about 1 tablespoon of the mixture and roll into a ball. Repeat with remaining mixture.
- Place balls on a baking sheet or plate and refrigerate for 20–30 minutes to set.
- Store in an airtight container in the fridge for up to 1 week, or freeze for longer storage.
Notes
- Feel free to customize with your favorite mix-ins like nuts or dried fruit.
- These protein balls are great for meal prep and can be made in advance.
- Prep Time: 10 minutes
- Cook Time: 0 minutes
- Category: Snack
- Method: No Bake
- Cuisine: American
Nutrition
- Serving Size: 1 ball
- Calories: 100
- Sugar: 5g
- Sodium: 50mg
- Fat: 5g
- Saturated Fat: 1g
- Unsaturated Fat: 4g
- Trans Fat: 0g
- Carbohydrates: 10g
- Fiber: 2g
- Protein: 4g
- Cholesterol: 0mg
Keywords: No Bake Protein Balls, Healthy Snacks, Protein Snacks, Easy Recipes